Smart Textiles Design Lab Blog at The Swedish School of Textiles
Involving the Machines

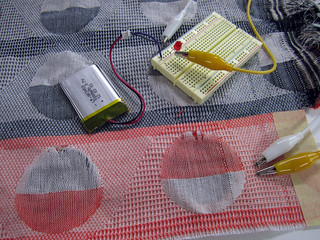
The objective of this project is to explore the combination of semi-automated machinery and handcraft processes for the production of electronic textiles. Electronic textiles (E-Textiles) are textiles that have electronic components embedded in them, or are constructed from fibers with electronic properties. We are interested in creating E-Textiles that have the ability to sense various stimuli such as pressure, bend and stretch.
Whereas industry often looks to automate processes and eliminate human involvement, we are interested in developing production processes that rely heavily on human intervention and skill, while taking advantage of automation. We believe that such hybrid creative processes will allow us to produce more unique and diverse results.
Researchers Involved:
Hannah Perner-Wilson
Linda Worbin
Mika Satomi
Technicians Involved:
Hanna Lindholm (weaving lab/ Hand Loom)
Fredrik Wennersten (weaving lab/ Industrial Jacquard Loom)
The Swedish-American-Exchange Fund Grant supported the visiting researcher, Hannah Perner-Wilson to join the Smart Textiles Design lab and conduct this project together with the researchers from the lab.
Research Outcome
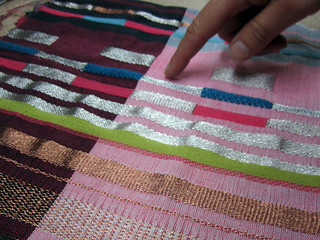
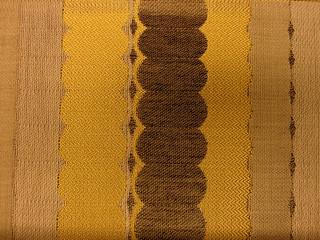
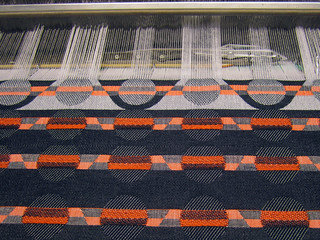
Button fabric
The circular part of this fabric is woven as double layers. It works as a small pocket with conductive material on both side. When spacer or resistive material is inserted in the pocket, it works as a button or as a pressure sensor.
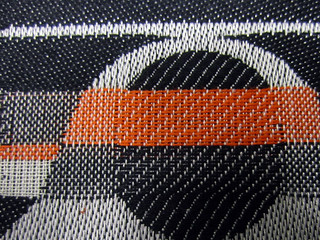
Tilt Sensor Fabric
Four petals around the orange circle is woven with conductive thread. When center metal bead hanging touches to one of the petal, it makes electrical connection, indicating the tilting angle of the fabric. As you can see in the back side of the fabric, conductive thread is bind with big float allowing us to pull out and use it as connection to the metal bead in the front side.

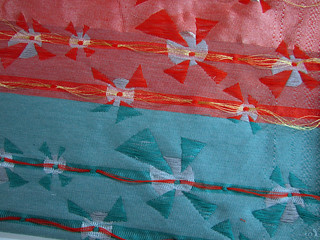
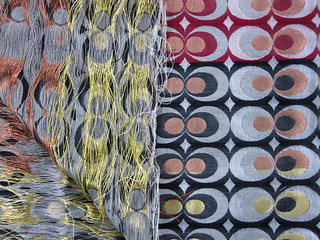
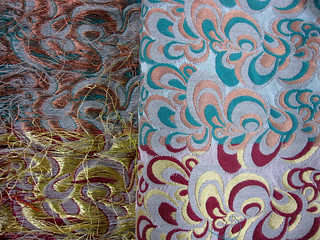
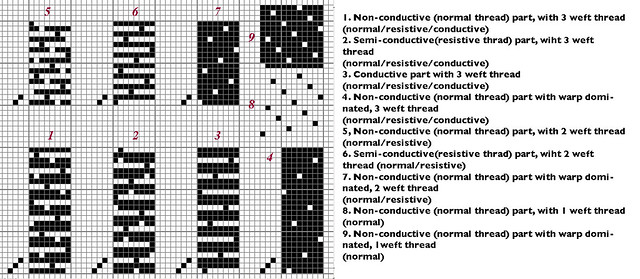
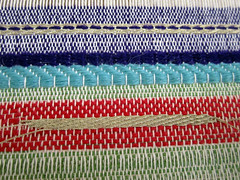
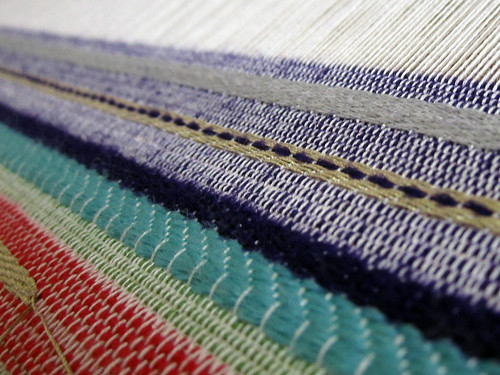
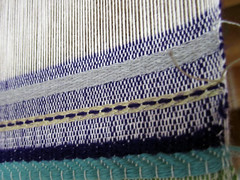
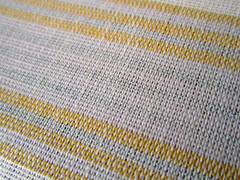
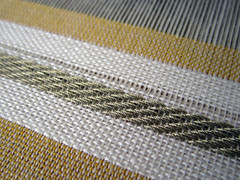
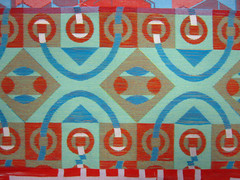
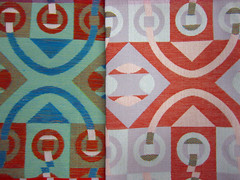
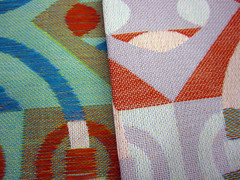
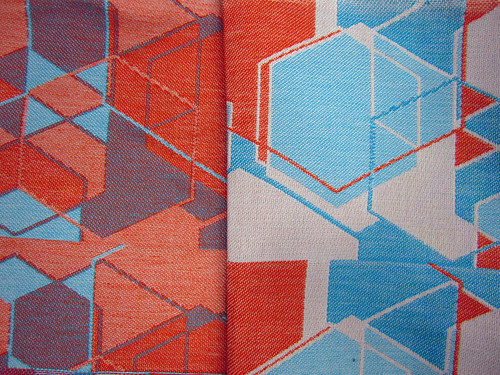
Jacquard Pattern Conductive Fabric
The outcome fabrics are woven with conductive, resistive and non-conductive (cotton) thread. Both conductive and resistive threads are woven with float on the back so that one can cut the weft connection on the back. Each pattern on the front side of the fabric can act as individual conductive, resistive and non-conductive surface, which can be used as sensor, circuit.. so on.
The main outcome of this fabric is the below weaving binding palette. By applying these binding according to the electrical characteristic you plan, one can create their own patterned conductive fabric.
Building Block Conductive Fabric
This fabric has long conductive thread float on both side allowing user to cut desired parts to create quick sketching of fabric circuit.

Graphical Conductive Thread
Gray scale graphical image can be converted into 7 different gradients of satin binding to achieve the photo-like textiles. We applied this technique on conductive fabric by using conductive thread (silver plated copper thread) on weft.


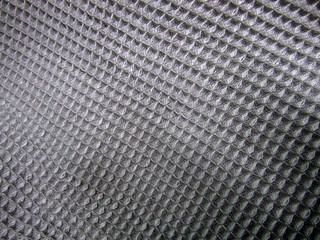
Waffle Sensor
Waffle binding makes the textile in 3 dimensional structure. We used this binding with resistive yarn (Bekinox 50/2). The outcome fabric reacts to pressure and stretch making a very interesting tactile sensor.
Research Process
The process is also documented at the “MAKING-OF: INVOLVING THE MACHINES” at KOBAKANT website >> http://www.kobakant.at/?p=241
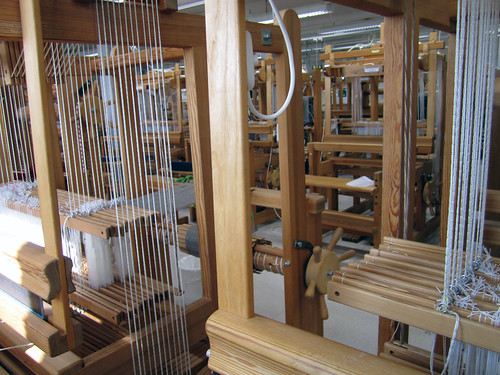
Hand Weaving loom
Experiments on hand and semi-automated (computer controled shaft) weaving looms.
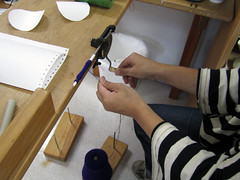
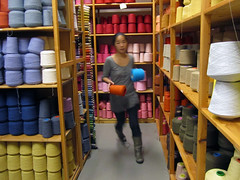
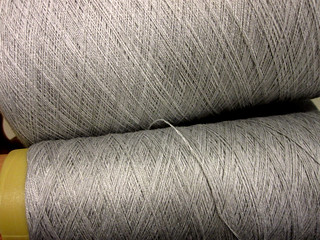
Yarn depot – so many different types, plys (numbers of twisted threads) and colours. To weave the yarn one first has to wind it onto spindle that fits in a shuttle that can pass in between the warp threads on the loom.

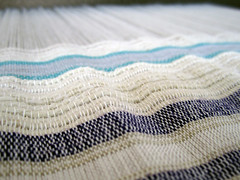
First trial with regular a basic weave (weft yarn weaves in between warp yarn, one up, one down) and differnt yarns (conductive, resistive, nylon, wool and cotton):


Picture of hand-loom setup.
Video
Self-contained conductive patch achieved through hand-weaving conductive thread selectively in the upper layer and using red thread in the bottom layer.
Two conductive strips with a single wool weft separating them.
Resistive satin strip is only exposed on top layer, fully isolated on reverse side.

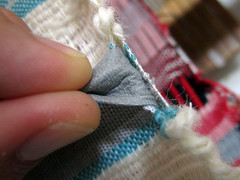
Creating a pocket that can then be filled with a piezo-resistive (pressure sensitive) material.

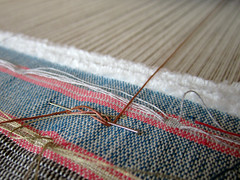
When a warp thread breaks it can be fixed and temporarily held back in place with needle.
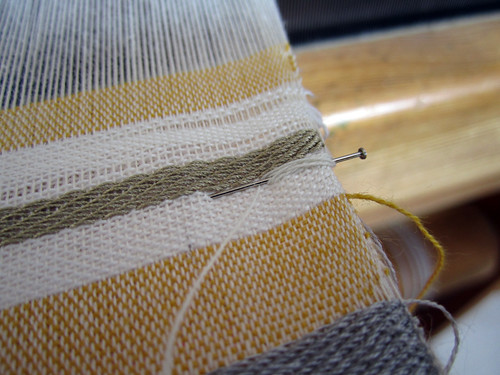
Adding additional/extra warp threads to the setup is also not that hard. Hannah added four conductive threads to the warp, each one a different conductive thread. Stick-like weights keep the additional warp threads tense.
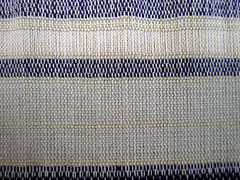
Gray stripes, and checkers. The darker one is a conductor, the lighter one isn’t.

Satin conductor, isolated bellow. Conductive hair/fur.

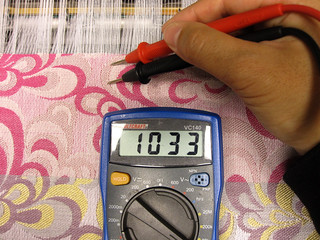
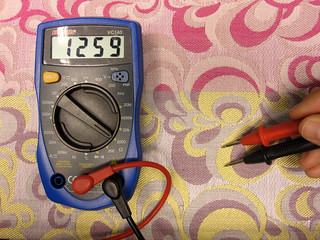
We examined the fabric, pulling apart the warp and weft to discover what threads were touching (interesting in terms of two conductive threads being next to each other, but electrically separated), how pockets were constructed and how the fabric got thinner or thicker based on how many threads were floating and how many threads were in use.
Linda adds another point to our list of things to try:
>> Design a textile pattern that can be modified by the user. cut floats to separate areas of conductivity, or increase resistance, or pull out single conductors.
Front:

Back:

Computer-controlled shaft hand Loom
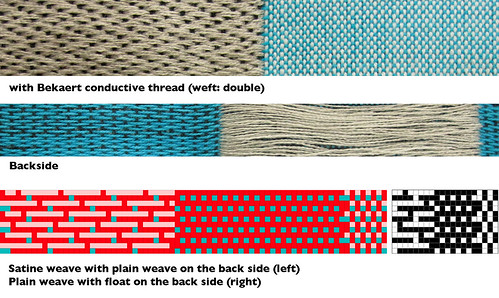
We realized not all the weaving patterns are suitable for creating conductive textiles. When conductive thread is used only in weft, in some patterns (i.e. plain weave), the wefts does not touch each other to conduct in warp direction. This depends largely with how dense you weave and what types of conductive thread and warp thread you use. The best result came with Satin weave patterns. The long float on the satin weave seem to help the weft threads to touch each other well to conduct in any direction.
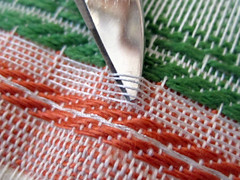
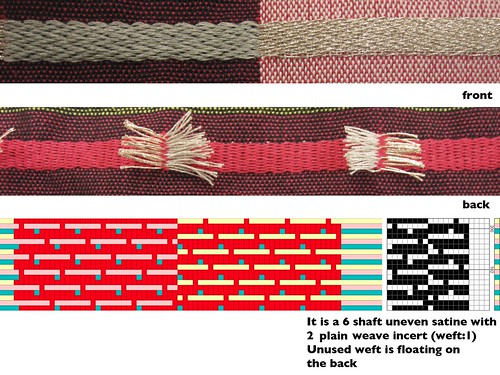
The next challenge was to separate the conductive sections in weft direction.
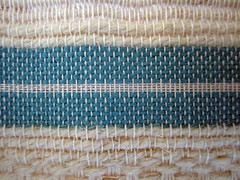
Even the conductive parts looks like separated parts, it is internally connected since all the weft thread runs the entire width of the fabric. We tried to solve this problem by keeping the conductive thread float on the back when it is not facing front side, so we can cut them after weaving. The conductive part (left side on the picture) is double sided weave structure so the back side gets isolated.
It is also possible to have two parts conductive and both float on the back. In this case two of the conductive parts are also electrically connected.
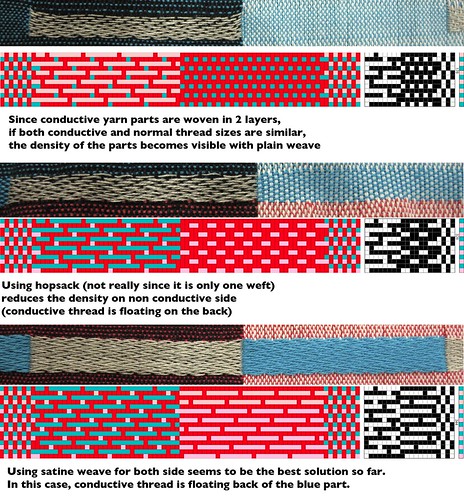
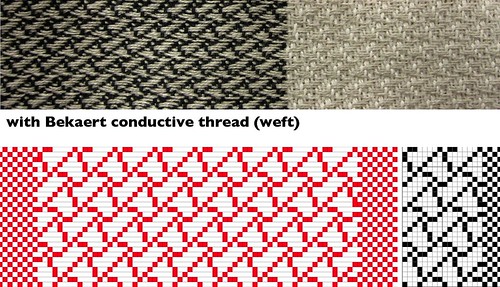
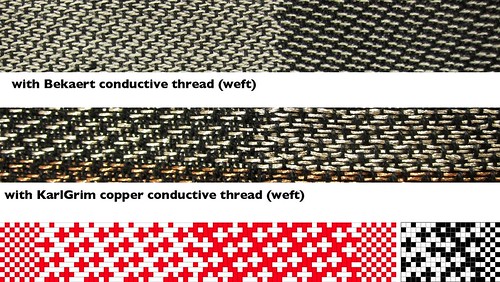
The weave structure density difference on two parts became visible, especially with bekaert conductive thread. we tried to use denser weave than plain weave for non conductive parts. It seems using single sided bigger satin weave gave the best result.
We have also tried weave patterns that gives aesthetic patterns. It looks nice, but not all of them are conductive on warp direction.

They are not conductive on warp direction
conductive, depending on how it is held.
Not conductive on warp direction
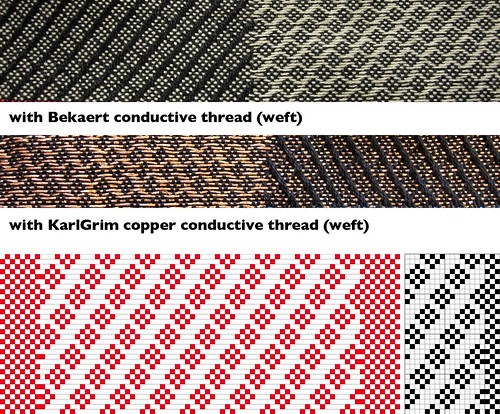
Bekaert thread version is conductive on warp direction. Copper thread version is not.
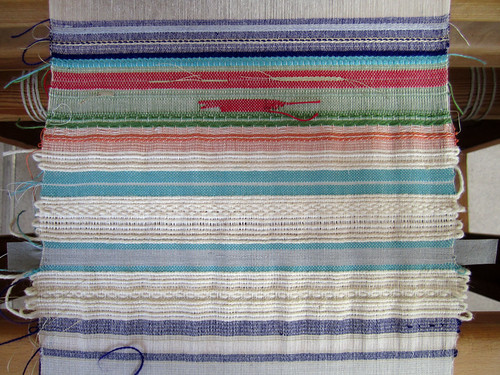
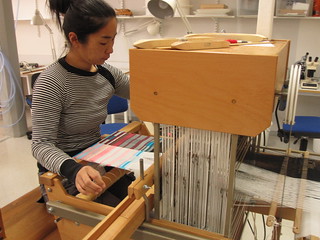
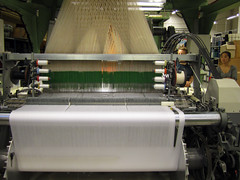
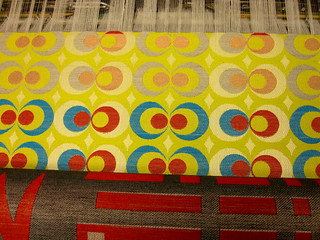
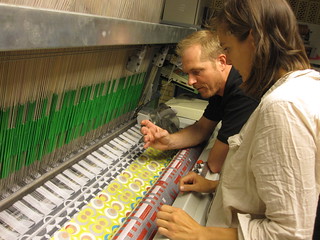
Computerized Industrial Jacquard Loom
Front and back of jacquard loom before we started weaving our patterns:
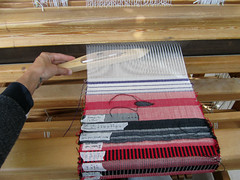
Thread selection. We wove with cotton first before we go on to use up large amounts of conductive yarn.

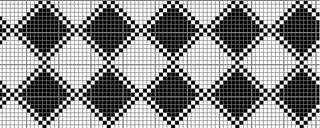
Sketches for a repetitive (4 x along weave) pattern using 4 colours (two of them intended to be conductive/resistive).
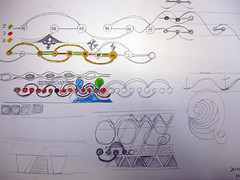
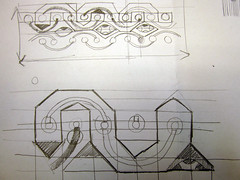
Translating sketches into vectorized graphics.
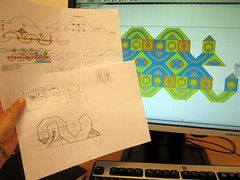

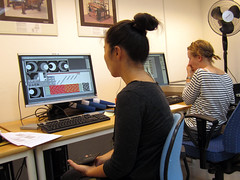
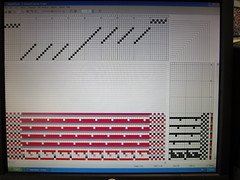
Final pattern is then exported as JPG and imported into weaving machine software.

Using weaving machine software with help of technician to select what weaving patterns we want to use in which coloured areas.
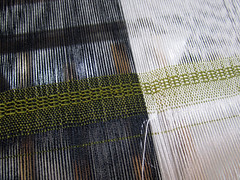
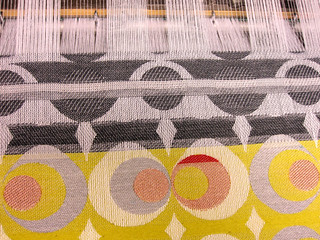
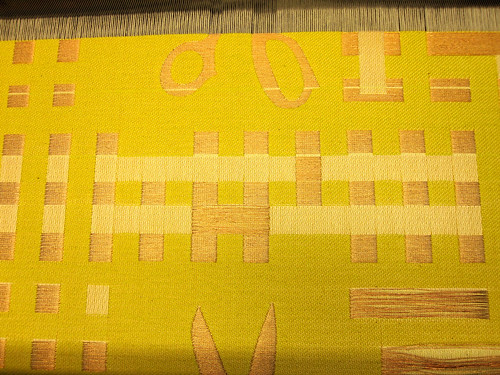
Front and back of Hannah’s pattern
Mika’s 3-colour pattern
Linda’s pattern

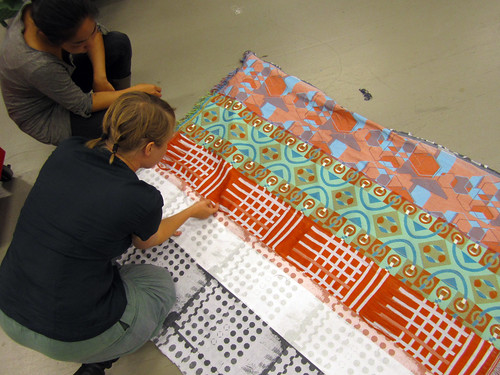
Full sheet
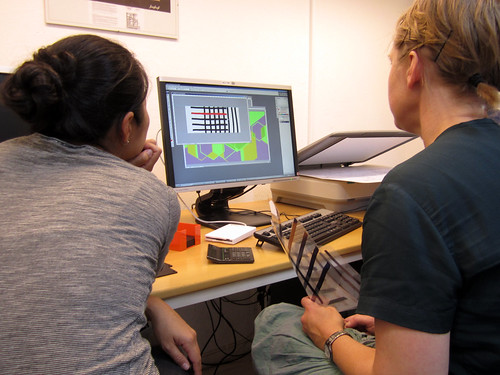
The process of going from hand-loom to using the computer involves understanding and even making your own bindings. Mika translates her computer loom designs to the industrial jacquard loom and makes adjustments based on her pattern, yarn weights and joining points of different bindings across the weft and warp.

Testing some bindings on the computerized loom before trying them on the jacquard.
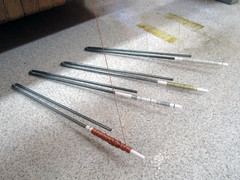
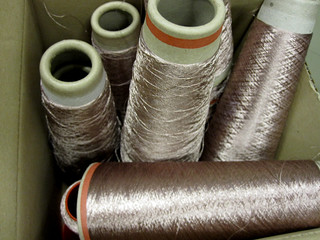
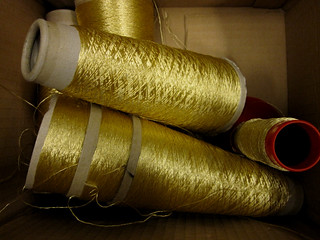
We used several different kinds of conductive thread.
Left top: Elinox PSS 15070 (Rose) Pet/Steel 0.07mm (by Soieries Elite)
Right Top: Elinox PSS 60070 (Yellow) Pet/Steel 0.07mm (by Soieries Elite)
Left bottom: Bekinox 50/2 Pet/Steeel (by Bekaert)
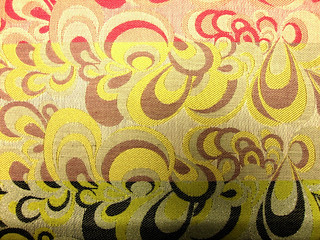
Mika has been trying to get different conductive parts on one fabric (conductive, resistive, non-conductive)
This is a test with only part of the pattern repeated. To let the conductive thread weft touch each other, we had to make it as dense as 60 pick/cm
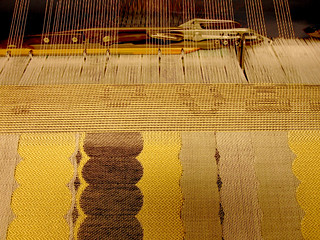
This is another trial pattern. The conductive parts are spread over the whole fabric.

Hannah is experimenting to make a double weave pocket (the stripe part in the circle) in the textile so you can add spacer or resistive material to use it as sensor later.
Somehow “regulator” (command to stop the machine to push the fabric forward so it gets more dense) is not working for the double weave part. It took them many try+error to get this right.

Linda is investigating a textile which lets the user to decide which part of the textile should be electrically connected or not. It is like textile lego mindstorm
![]()
The Swedish School of Textiles
All content © 2026 by Smart Textiles Design Lab Blog